This was one of the most fun projects I have ever done!
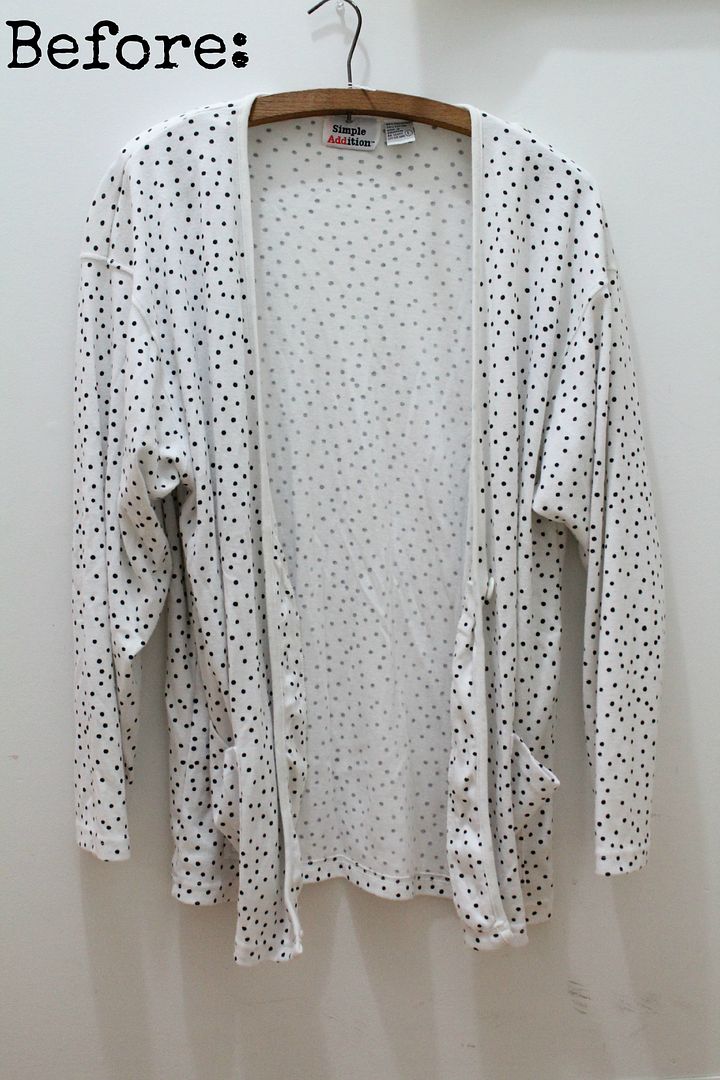
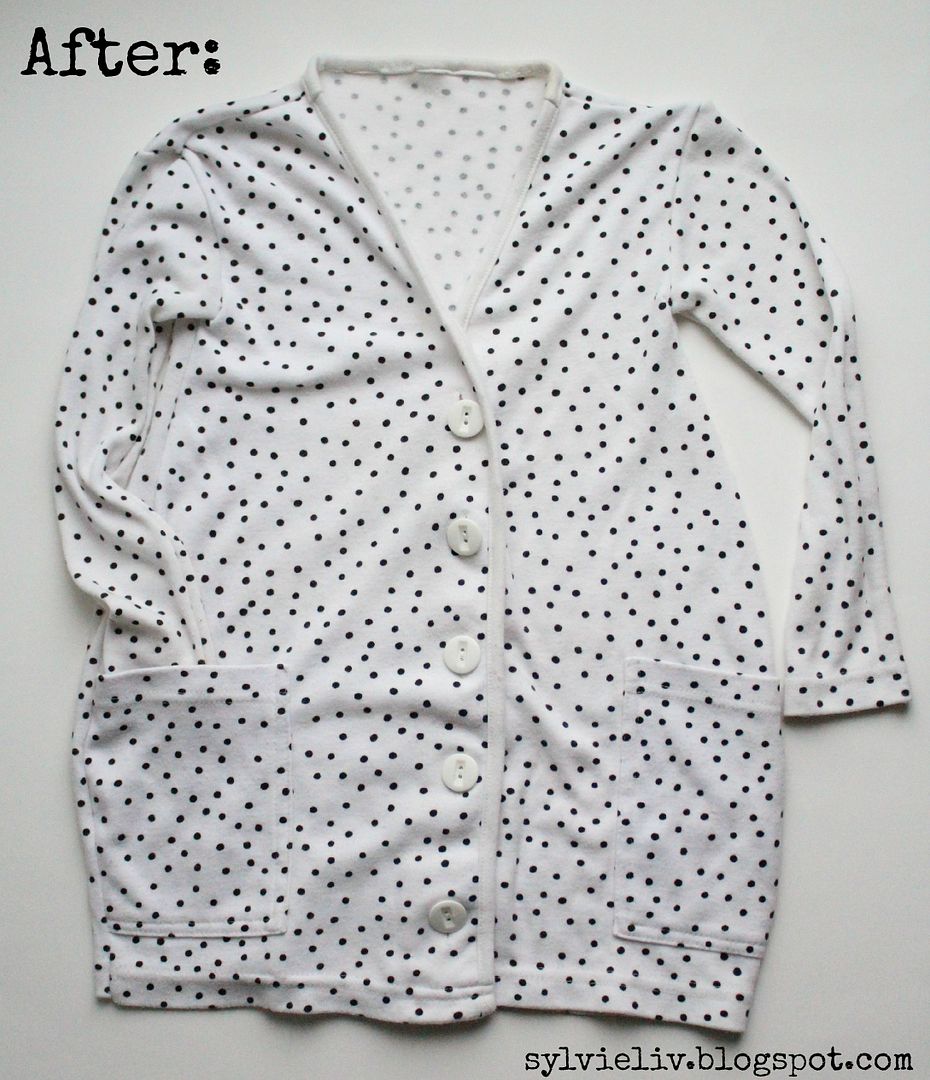
Another dirt cheap thrift store find, turned into one of my favorite pieces for one of the little Livs! :)
Do you have am old cardigan in your closet, collecting dust?
Haul it out and get out your scissors!
(Sorry some of the pics are crusty, I made it on the coffee table in the middle of the night while visiting w Mr. Liv!)
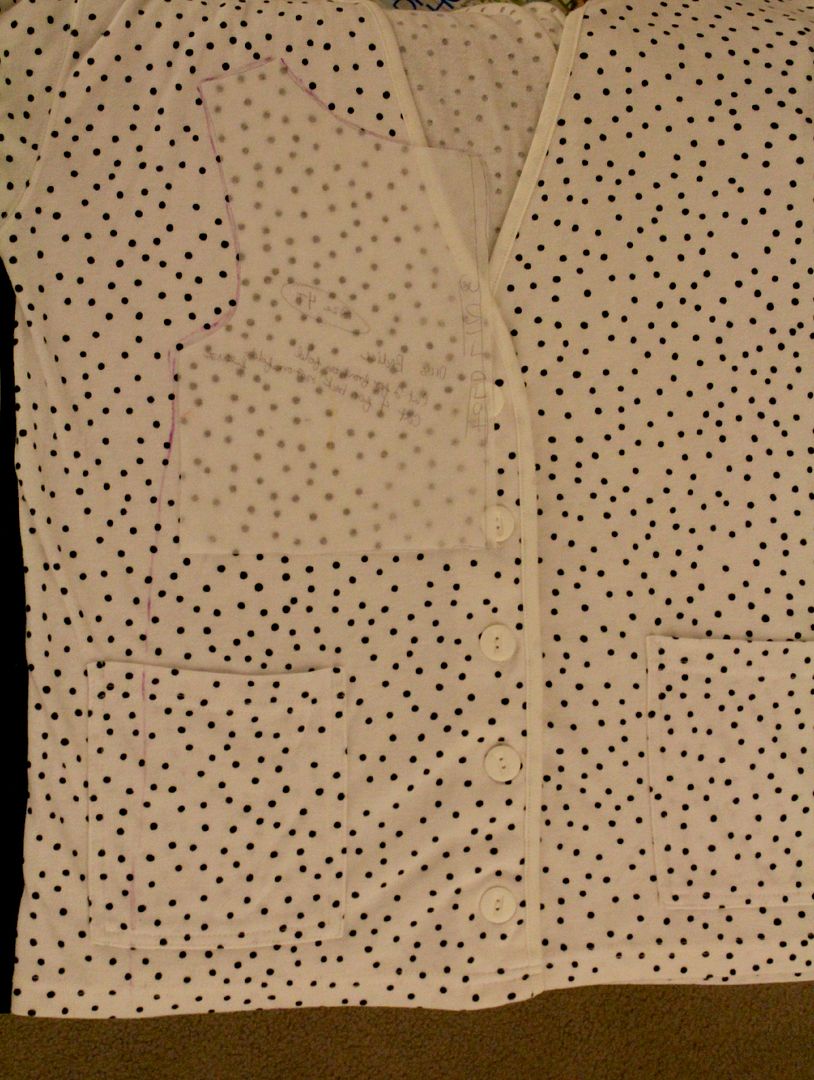
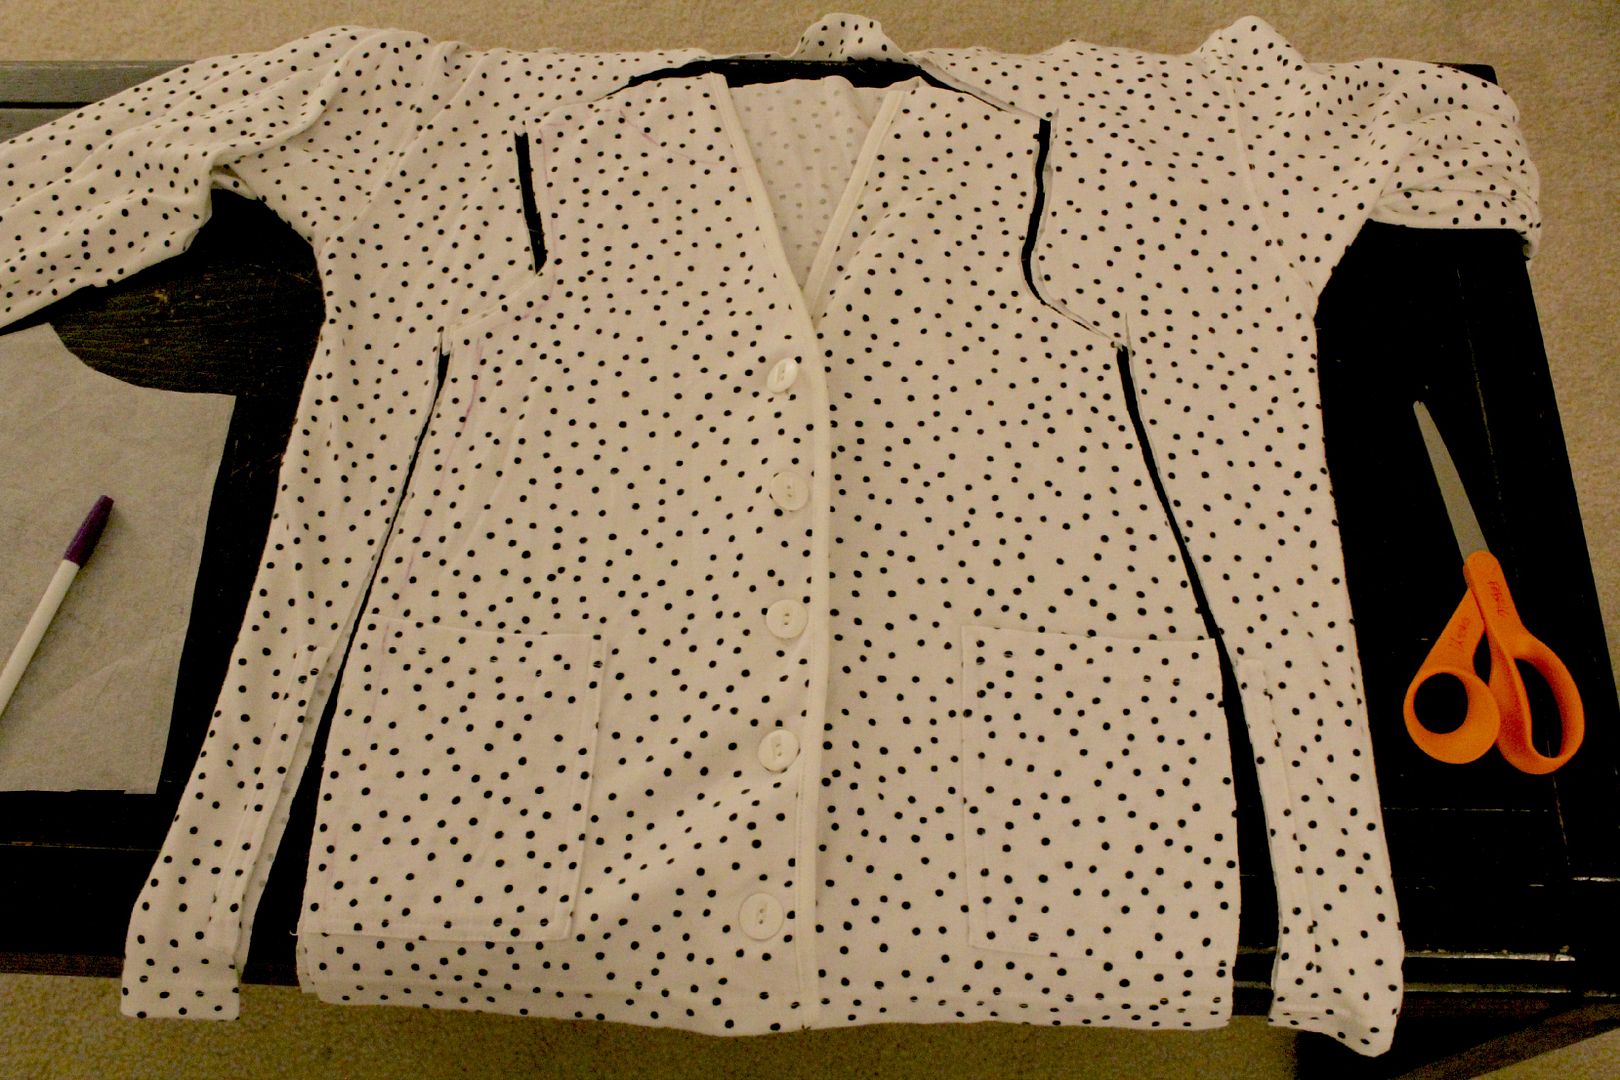
First, lay out your cardigan. Using a fabric marker, trace a bodice pattern (I used the bodice from Color Block Dress from Shwin&Shwin) right near the top of the buttons in the front. Continue the side seam line down to the bottom of the shirt (you could also just use a dress or shirt you already have to trace).
Cut the shirt along your line, but give yourself a seam allowance as well.
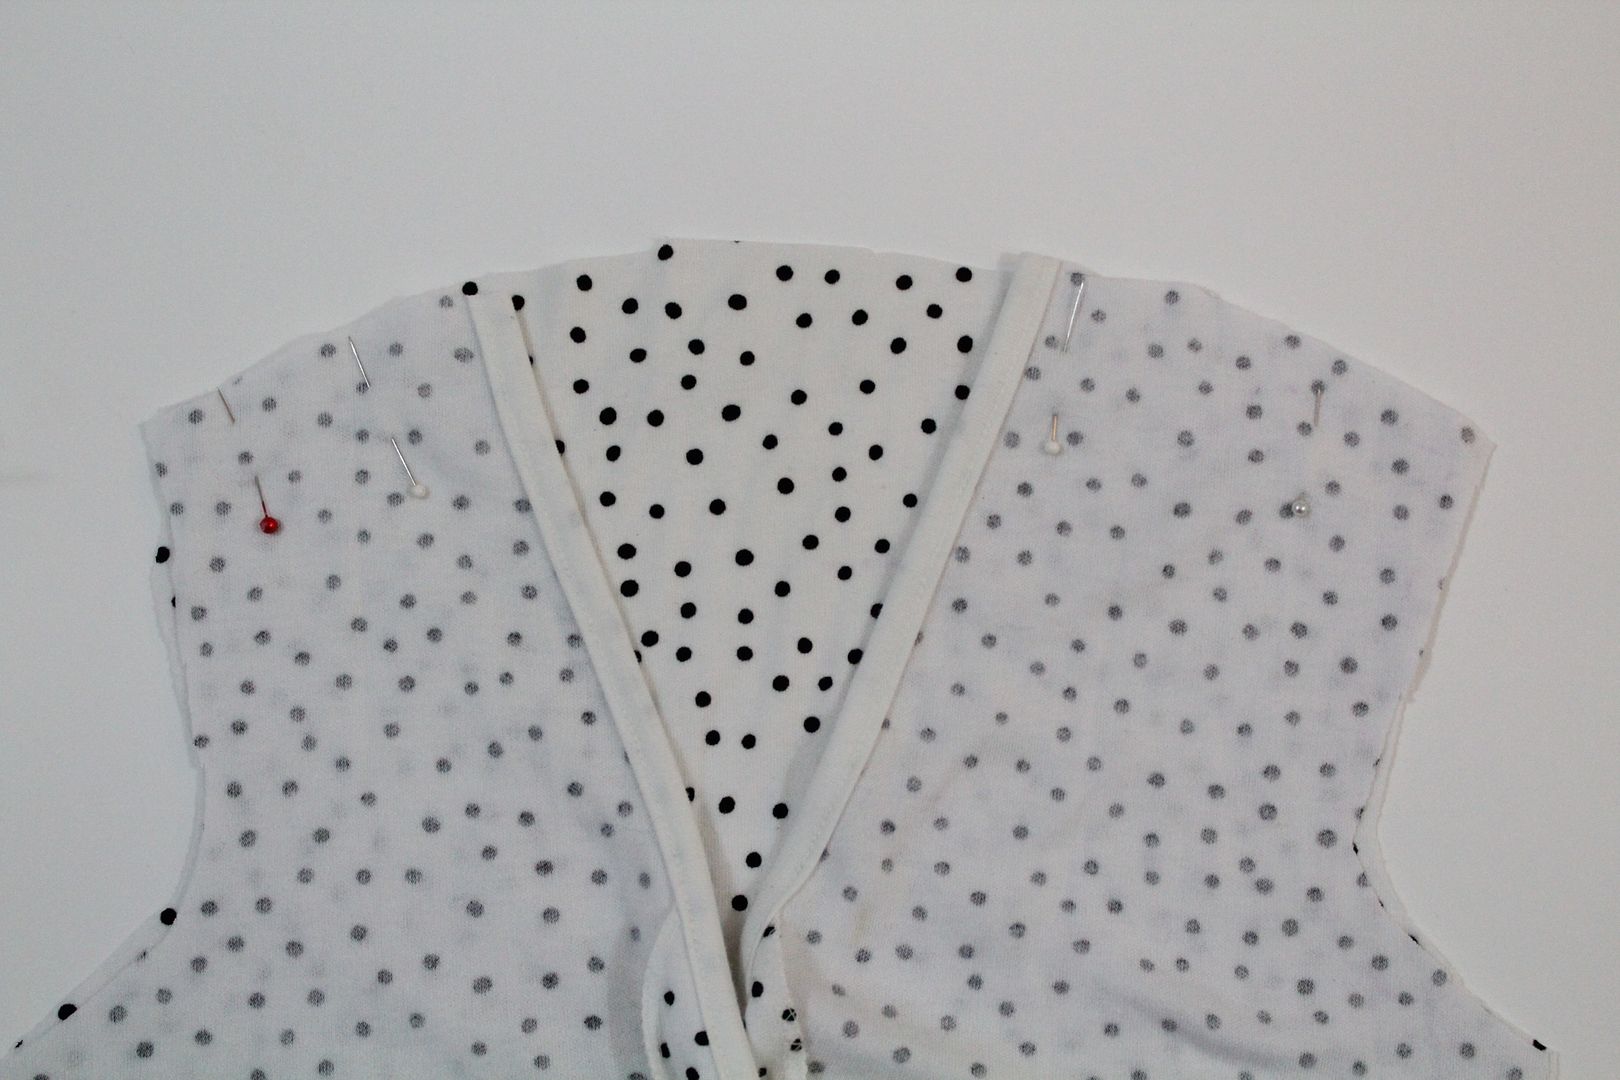
If you want the back of the cardigan to be high, cut straight across the top from the shoulder, rather than following the neck line.
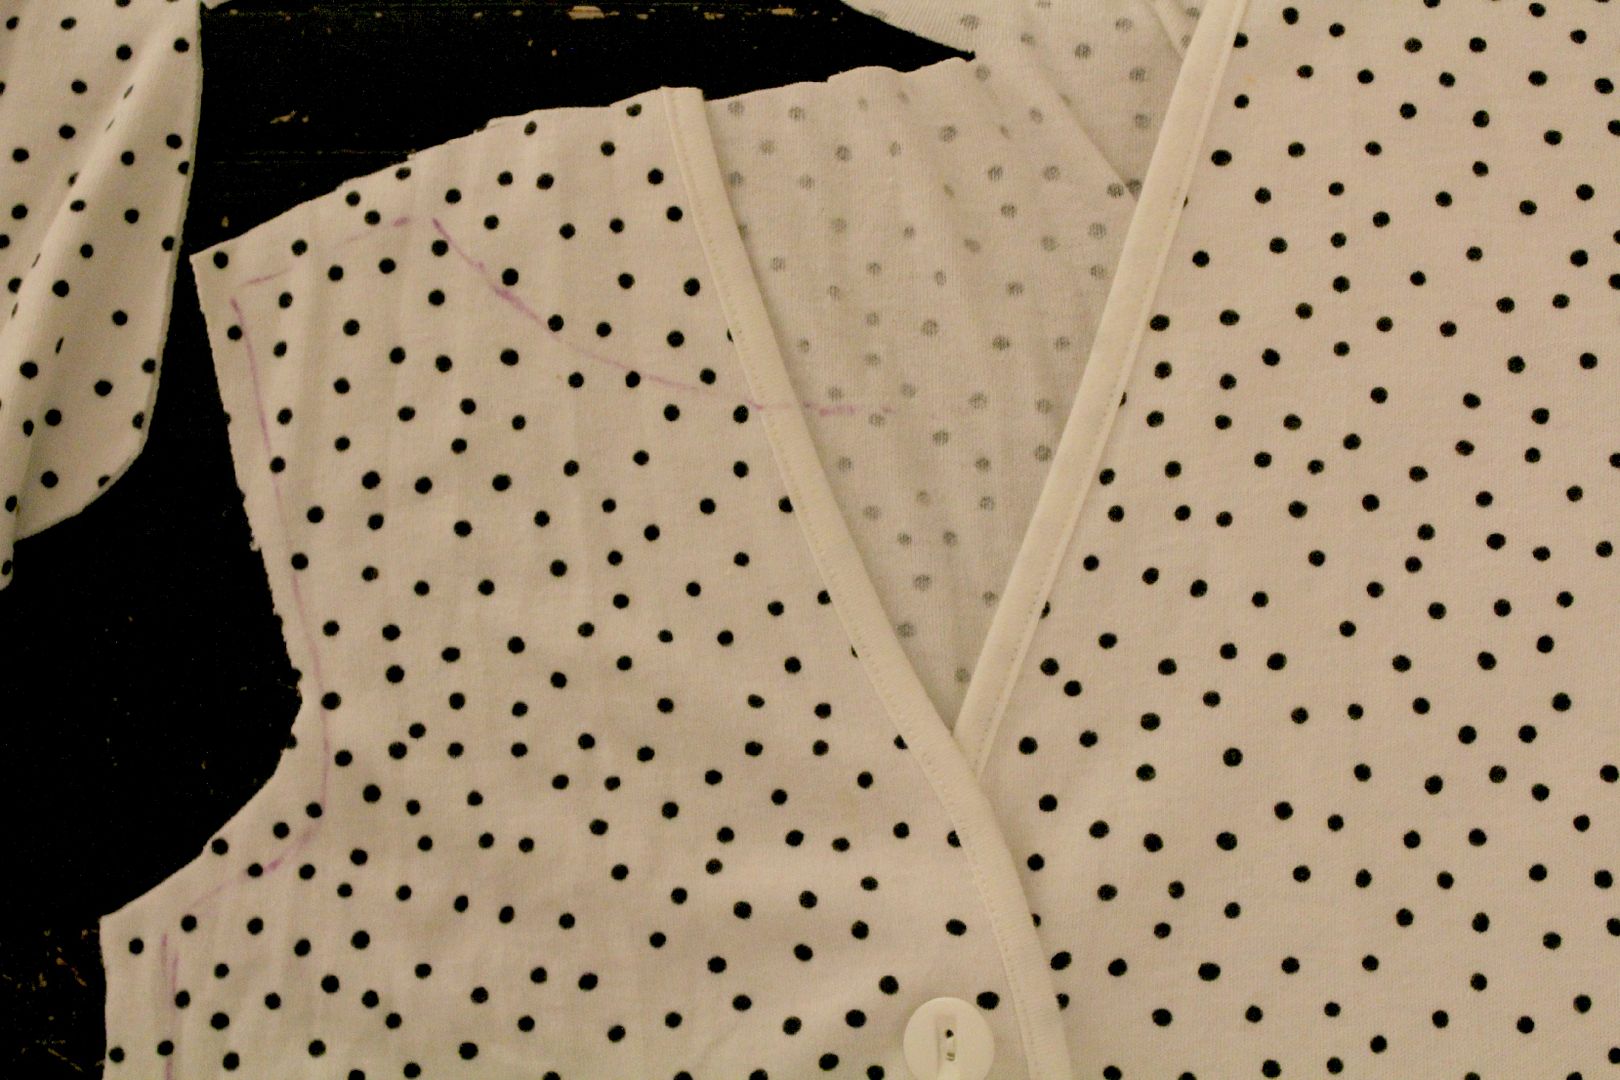
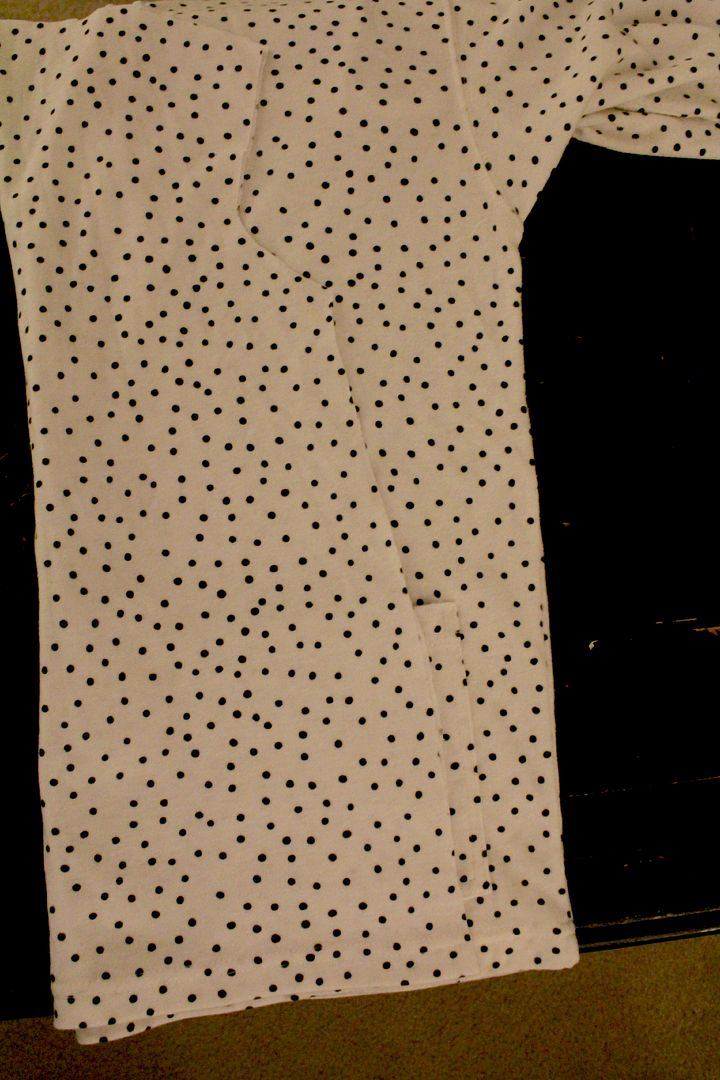
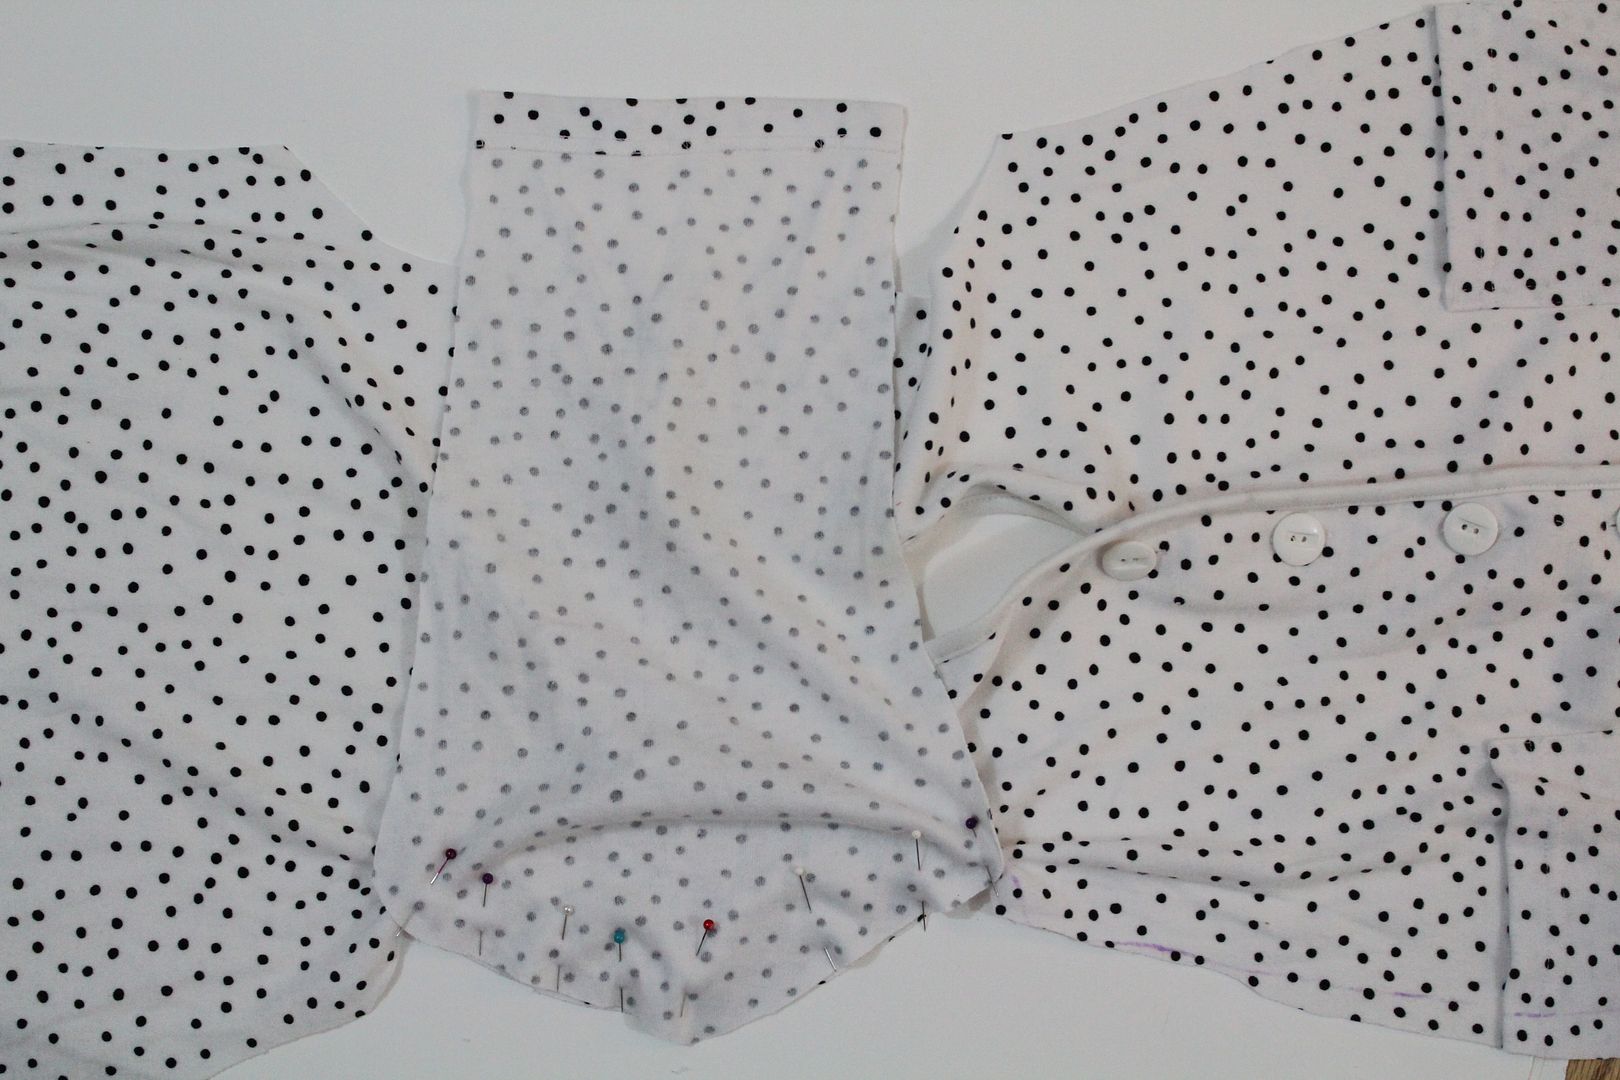
Fold the cut side inward, and trace it on the opposite side.
It should look like this now:
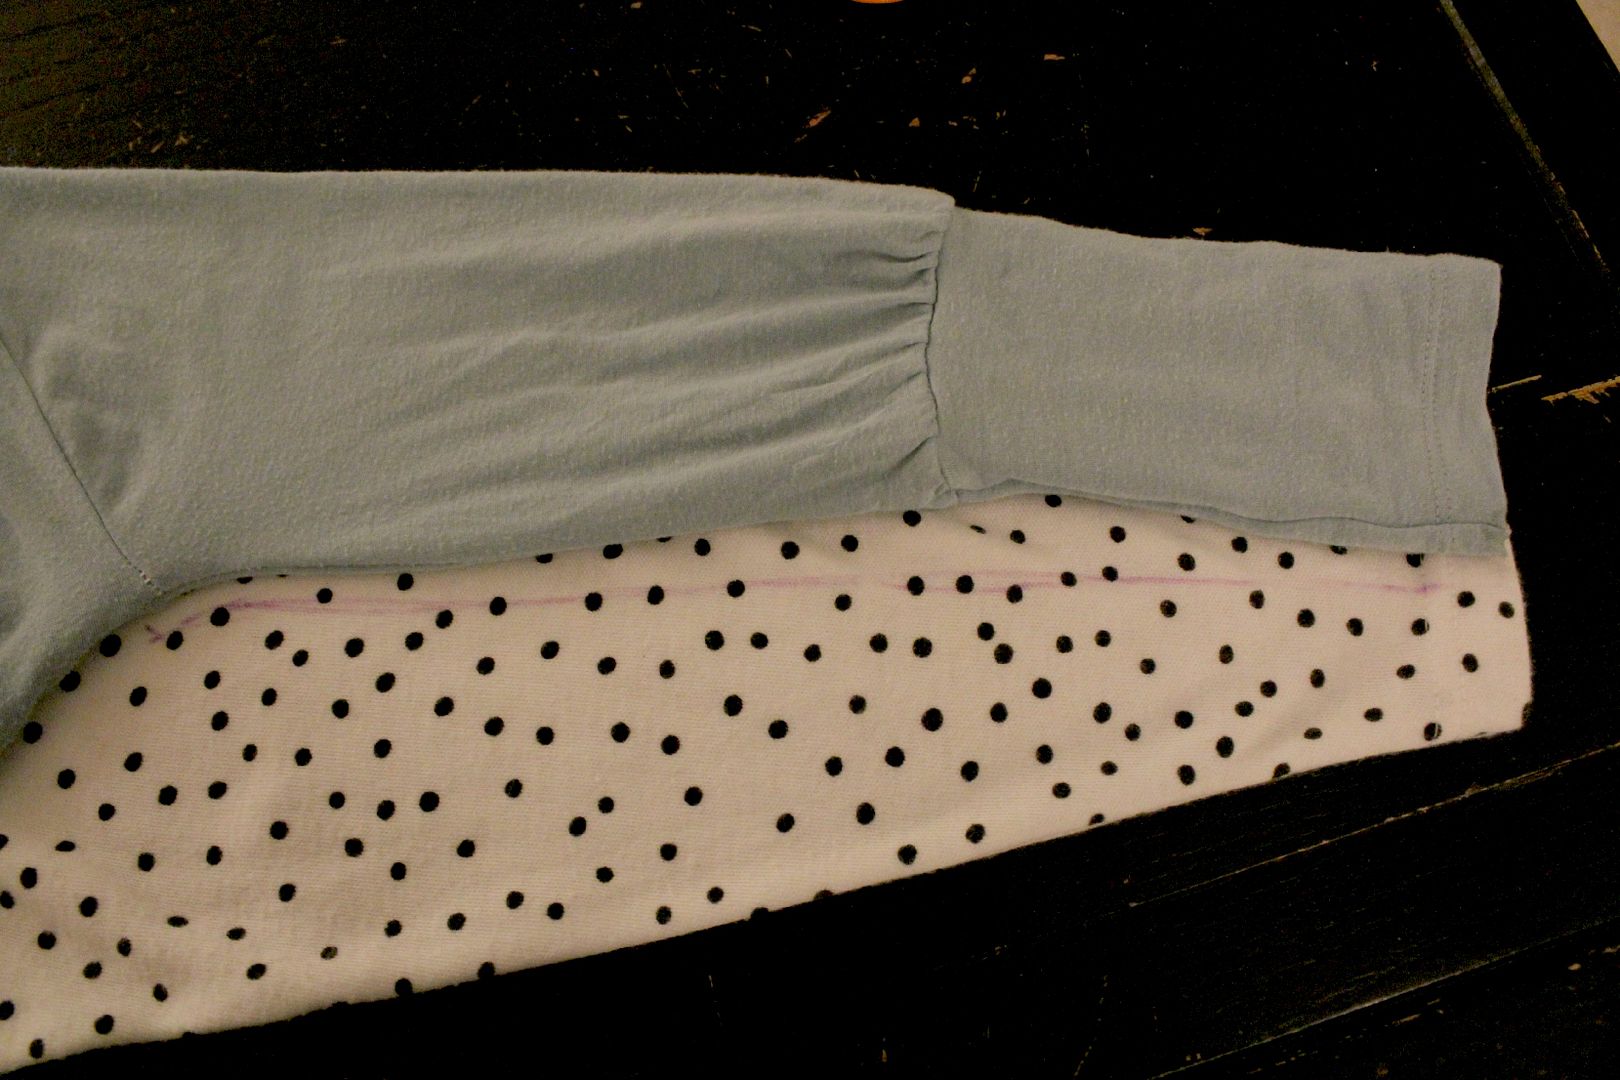
Using a sleeve of a shirt that fits your girl well, trace a sleeve onto the end of the cardigan sleeve.
You want the ends to line up so you can use the existing hem.
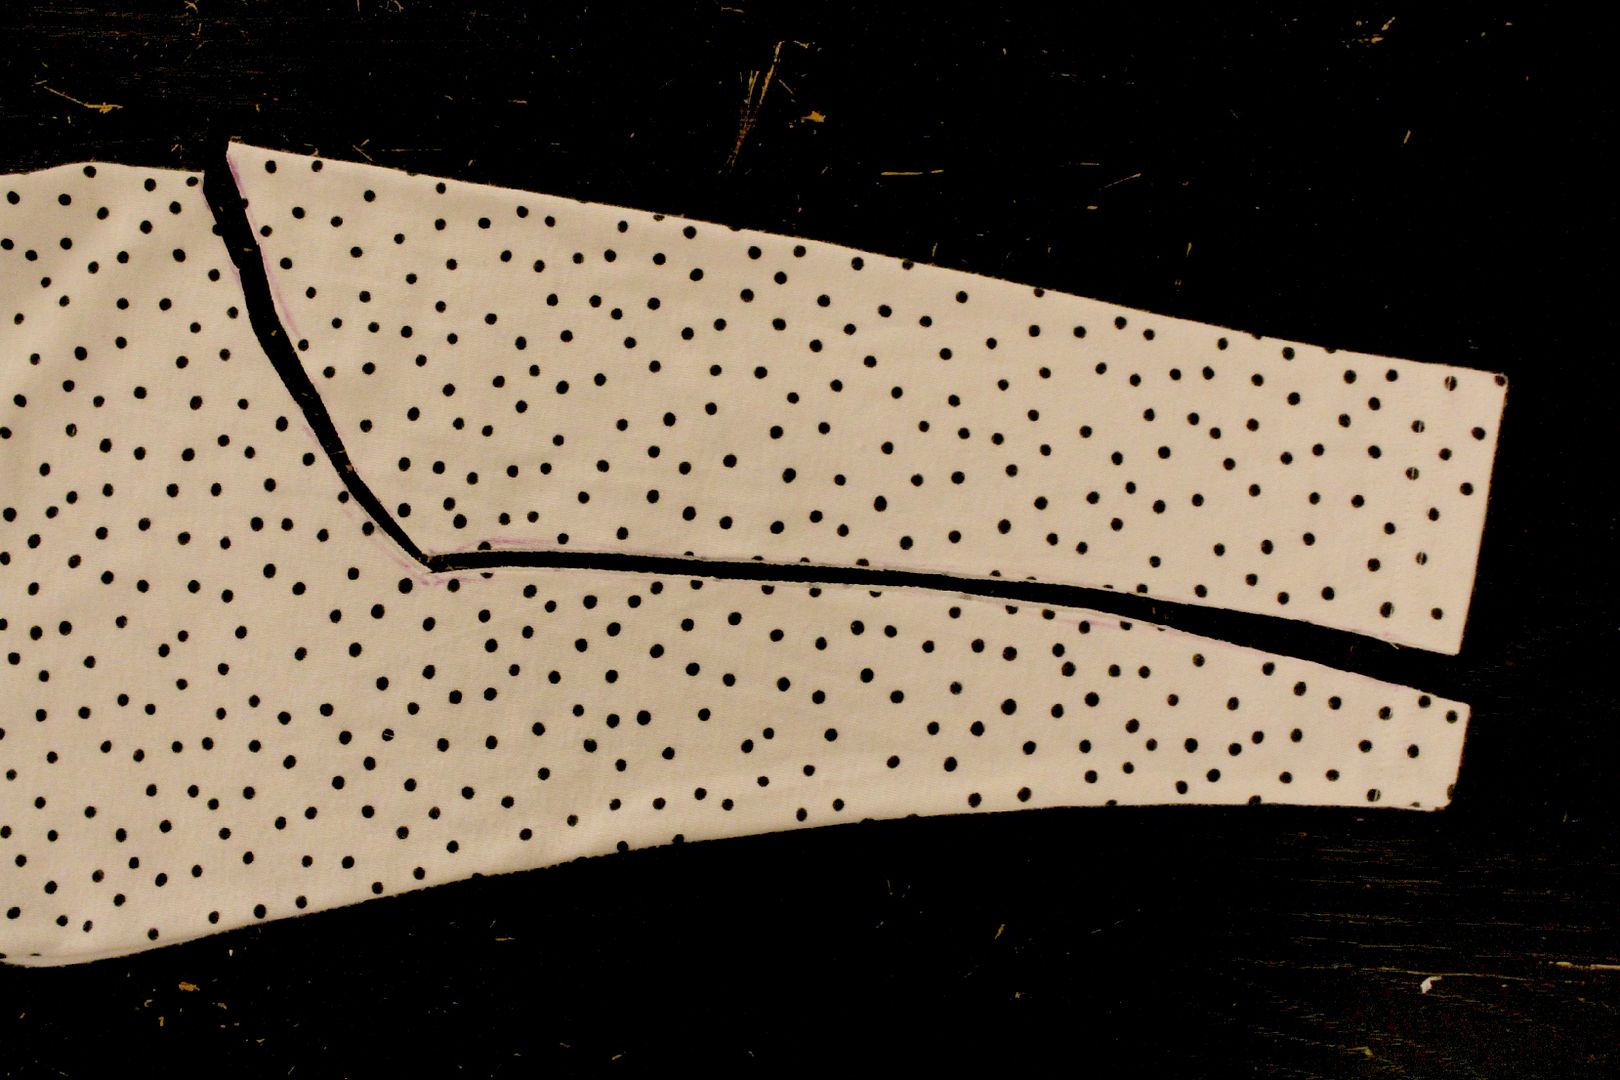
Don't forget your seam allowance! Cut the sleeve, and repeat on the other sleeve.
Put your bodice pieces right sides together, pin along the shoulders, and sew/ serge the shoulders together.
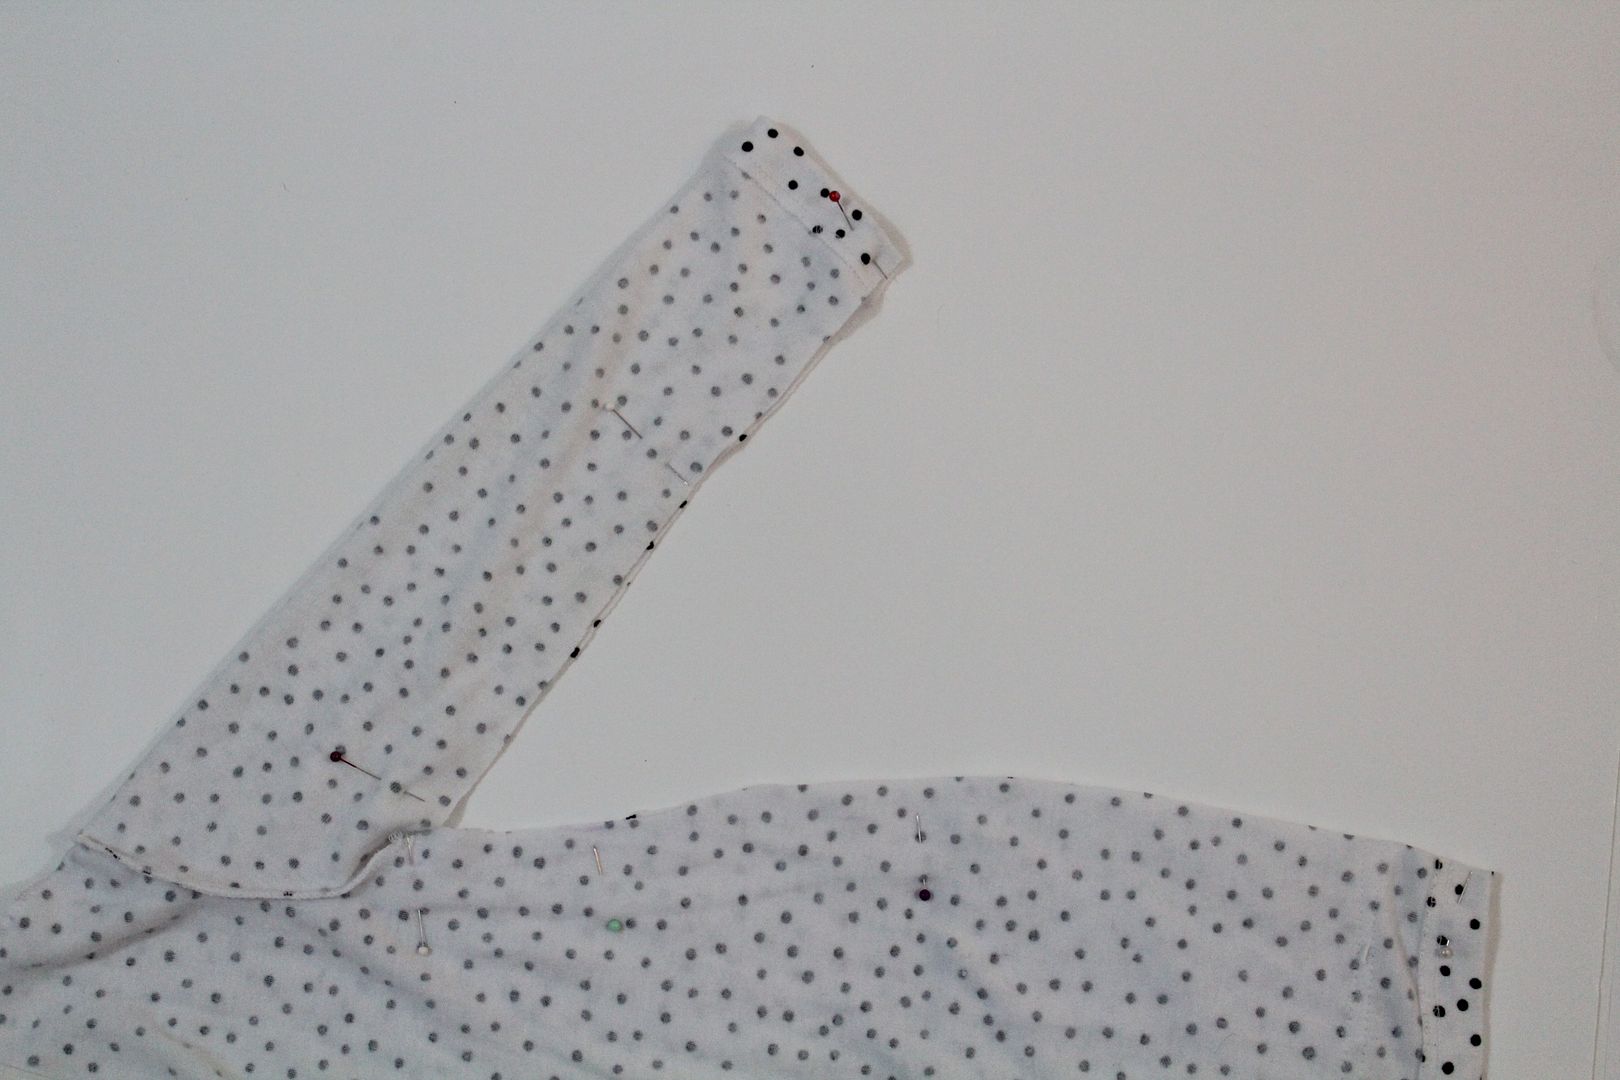
Open up the bodice pieces, and pin the shoulder of the sleeve to the shoulder of the bodice, right sides together. Sew along the pins. Repeat with other sleeve.
Fold it together inside out, and pin along the length to the sleeve and the side of the bodice. Sew/ serge it together.
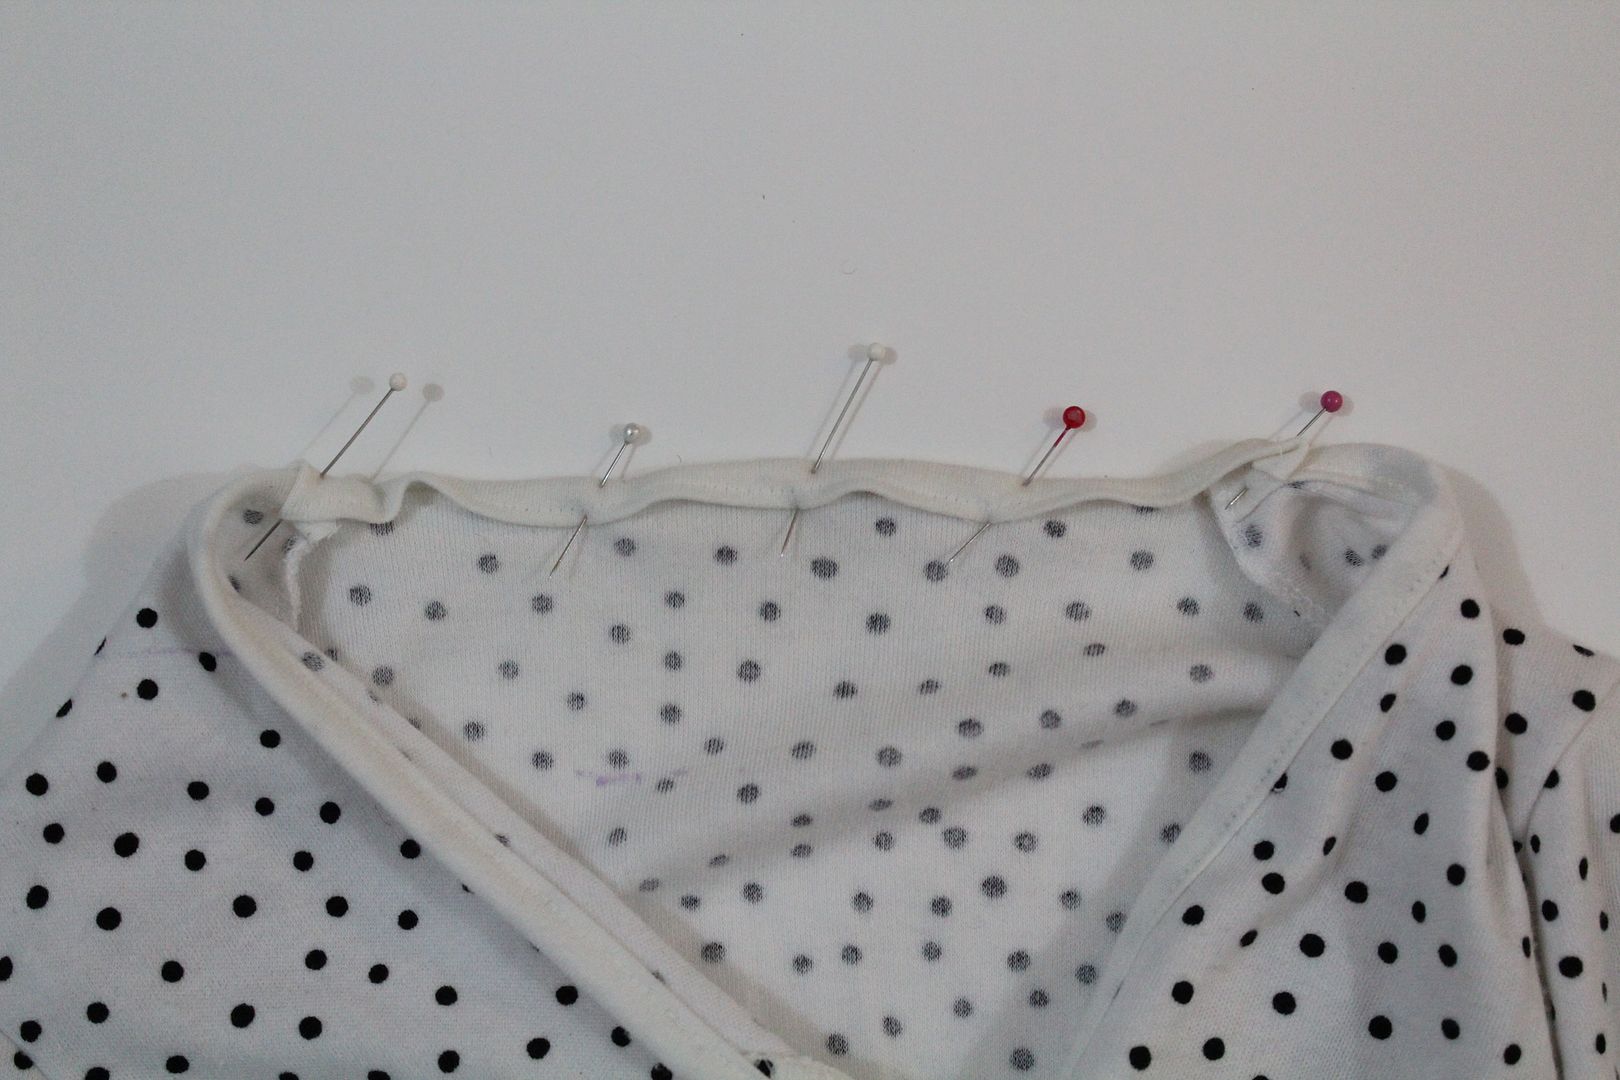
Using the leftover scraps of cardigan, pick out the stitches on the bias tape to remove a piece of bias tape for the back of the neck.
Sew the bias tape to the back of the neck on the new shirt.
If you are unsure of how to attach a knit binding, there is a nice tutorial here at ikat bag!
That's all! :) This project took me about 1.5 hours- totally doable after the little's bedtime!
Have fun!
Thanks for reading!
Sylvie

No comments:
Post a Comment
Leave a lil love, it makes my day! :)